4 Introduction to the Giotto package
Ruben Dries & Jiaji George Chen
August 5th 2024
4.2 Ecosystem
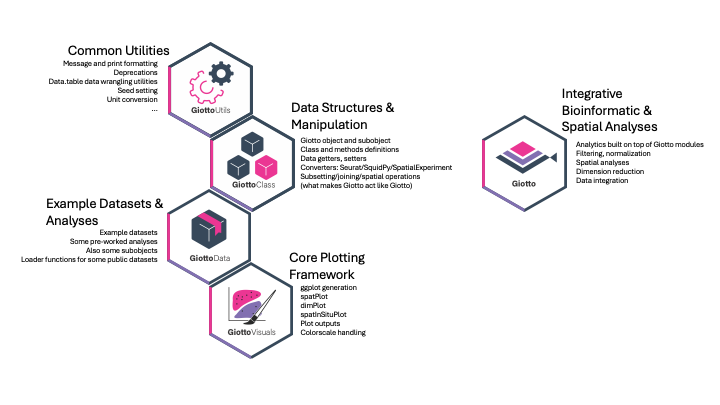
Giotto Suite is a modular ecosystem of individual R packages that each provide different functionality and that together provide users with a fully integrated spatial multi-omics workflow.

Figure 4.1: Overview of the modular Giotto Suite ecosystem
Each package also has its own website:
- GiottoUtils: https://drieslab.github.io/GiottoUtils/
- GiottoClass: https://drieslab.github.io/GiottoClass/
- GiottoData: https://drieslab.github.io/GiottoData/
- GiottoVisuals: https://drieslab.github.io/GiottoVisuals/
More information is available at https://drieslab.github.io/Giotto_website/articles/ecosystem.html
4.3 Installation + python environment
4.3.1 Giotto installation
Giotto Suite is currently installable only from GitHub, but we are actively working on getting it into a major repository. Much of this already covered in Section 2.2, but the highlights are:
4.3.1.1 System prerequisites
- for windows, Rtools needs to be installed
- a major dependency terra needs
GDAL (>= 2.2.3), GEOS (>= 3.4.0), PROJ (>= 4.9.3), sqlite3on linux
4.3.1.2 Installation of released version
To install the currently released version of Giotto in a single step:
This should automatically install all the Giotto dependencies and other Giotto module packages (main branch).
4.3.1.3 Installation of dev branch Giotto packages
pak tends to forcibly install all dependencies, which can have issues when working with multiple dev branch packages.
You can install dev branch versions by using devtools::install_github() instead
Core module dev branchs:
"drieslab/Giotto@suite_dev""drieslab/GiottoVisuals@dev""drieslab/GiottoClass@dev""drieslab/GiottoUtils@dev"
4.3.1.4 Common install issues
If installing on an R version earlier than 4.4, pak can throw errors when installing Matrix. To get around this, install Matrix v1.6-5 and then installing Giotto with pak should work.
If you come across the function 'as_cholmod_sparse' not provided by package 'Matrix' error when running Giotto, reinstalling irlba from source may resolve it.
4.3.2 Python environment
4.3.2.1 Default installation
In order to make use of python packages, the first thing to do after installing Giotto for the first time is to create a giotto python environment. Giotto provides the following as a convenience wrapper around reticulate functions to setup a default environment.
Two things are needed for python to work:
- A conda (e.g. miniconda or anaconda) installation which is the package and environment management system.
- Independent environment(s) with specific versions of the python language and associated python packages.
installGiottoEnvironment() checks both and will install miniconda using reticulate if necessary. If a specific conda binary already exists that you want to use, the conda param can be set, or you can set the reticulate option options("reticulate.conda_binary" = "[conda path]") or Sys.setenv("RETICULATE_CONDA" = "[conda path]").
After ensuring the conda binary exists, the default Giotto environment is installed which is a python 3.10.2 environment named ‘giotto_env’. It will contain several default packages that Giotto installs:
- “pandas==1.5.1”
- “networkx==2.8.8”
- “python-igraph==0.10.2”
- “leidenalg==0.9.0”
- “python-louvain==0.16”
- “python.app==1.4” (if needed)
- “scikit-learn==1.1.3”
4.3.2.2 Custom installs
Custom python environments can be made by first setting up a new environment and establishing the name and python version to use.
Following that, one or more python packages to install can be added to the environment.
reticulate::py_install(
  pip = TRUE,
  envname = '[name of env]',
  packages = c(
      "package1",
      "package2",
      "..."
  )
)
Once an environment has been set up, Giotto can hook into it.
4.3.2.3 Using a specific environment
When using python through reticulate, R only allows one environment to be activated per session. Once a session has loaded a python environment, it can no longer switch to another one. Giotto activates a python environment when any of the following happens:
- a
giottoobject is created giottoInstructionsare created (createGiottoInstructions())GiottoClass::set_giotto_python_path()is called (most straightforward)
Which environment is activated is based on a set of 5 defaults in decreasing priority.
- User provided (when
python_pathparam is given. Either a full filepath or an env name are accepted.) - Any provided path or envname set in options
options("giotto.py_path" = "[path to env or envname]") - Default expected giotto environment location based on
reticulate::miniconda_path() - Envname
"giotto_env" - System default python environment
Method 2 is most recommended when there is a non-standard python environment to regularly use with Giotto.
You would run file.edit("~/.Rprofile") and then add options("giotto.py_path" = "[path to env or envname]") as a line so that it is automatically set at the start of each session.
If a specific environment should only be used a couple times then method 1 is easiest:
To check which conda environments exist on your machine:
Once an environment is activated, you can check more details and ensure that it is the one you are expecting by running:
4.4 Giotto instructions
Giotto uses giottoInstructions in order to set a behavior for a particular giotto object. Most commonly used are:
- python_path - when set, will activate a python environment
- save_dir - save directory to use. Usually for plots generated. This can help speed things up since the viewer no longer has to render.
- save_plot - whether to save plots to the
save_dir - return_plot - whether to return the plot objects. When FALSE, only NULL is returned
- show_plot - whether to show the plot in the viewer
These objects are created with createGiottoInstructions() and the created objects can be edited afterwards using the instructions() generic function.
library(Giotto)
save_dir <- "results/01_session2/"

# this call will also intialize the python env
instrs <- createGiottoInstructions(
    save_dir = save_dir, # working directory is the default
    show_plot = FALSE,
    save_plot = TRUE,
    return_plot = FALSE,
    python_path = NULL # when NULL, this calls GiottoClass::set_giotto_python_path() to get the default
)
force(instrs)
Giotto object creation functions all have an instructions param for passing in instructions objects.
giotto objects will also respond to the instructions() generic.
test <- giotto(instructions = instrs) # passing NULL instead will also generate a default instructions object

# example plot
g <- GiottoData::loadGiottoMini("visium")
instructions(g) <- instrs
instructions(g, "show_plot") # instructions say not to plot to viewer

spatPlot2D(g, show_image = TRUE, image_name = "image")
# instead it will directly write to the results folder
As an example, you can also set individual instructions

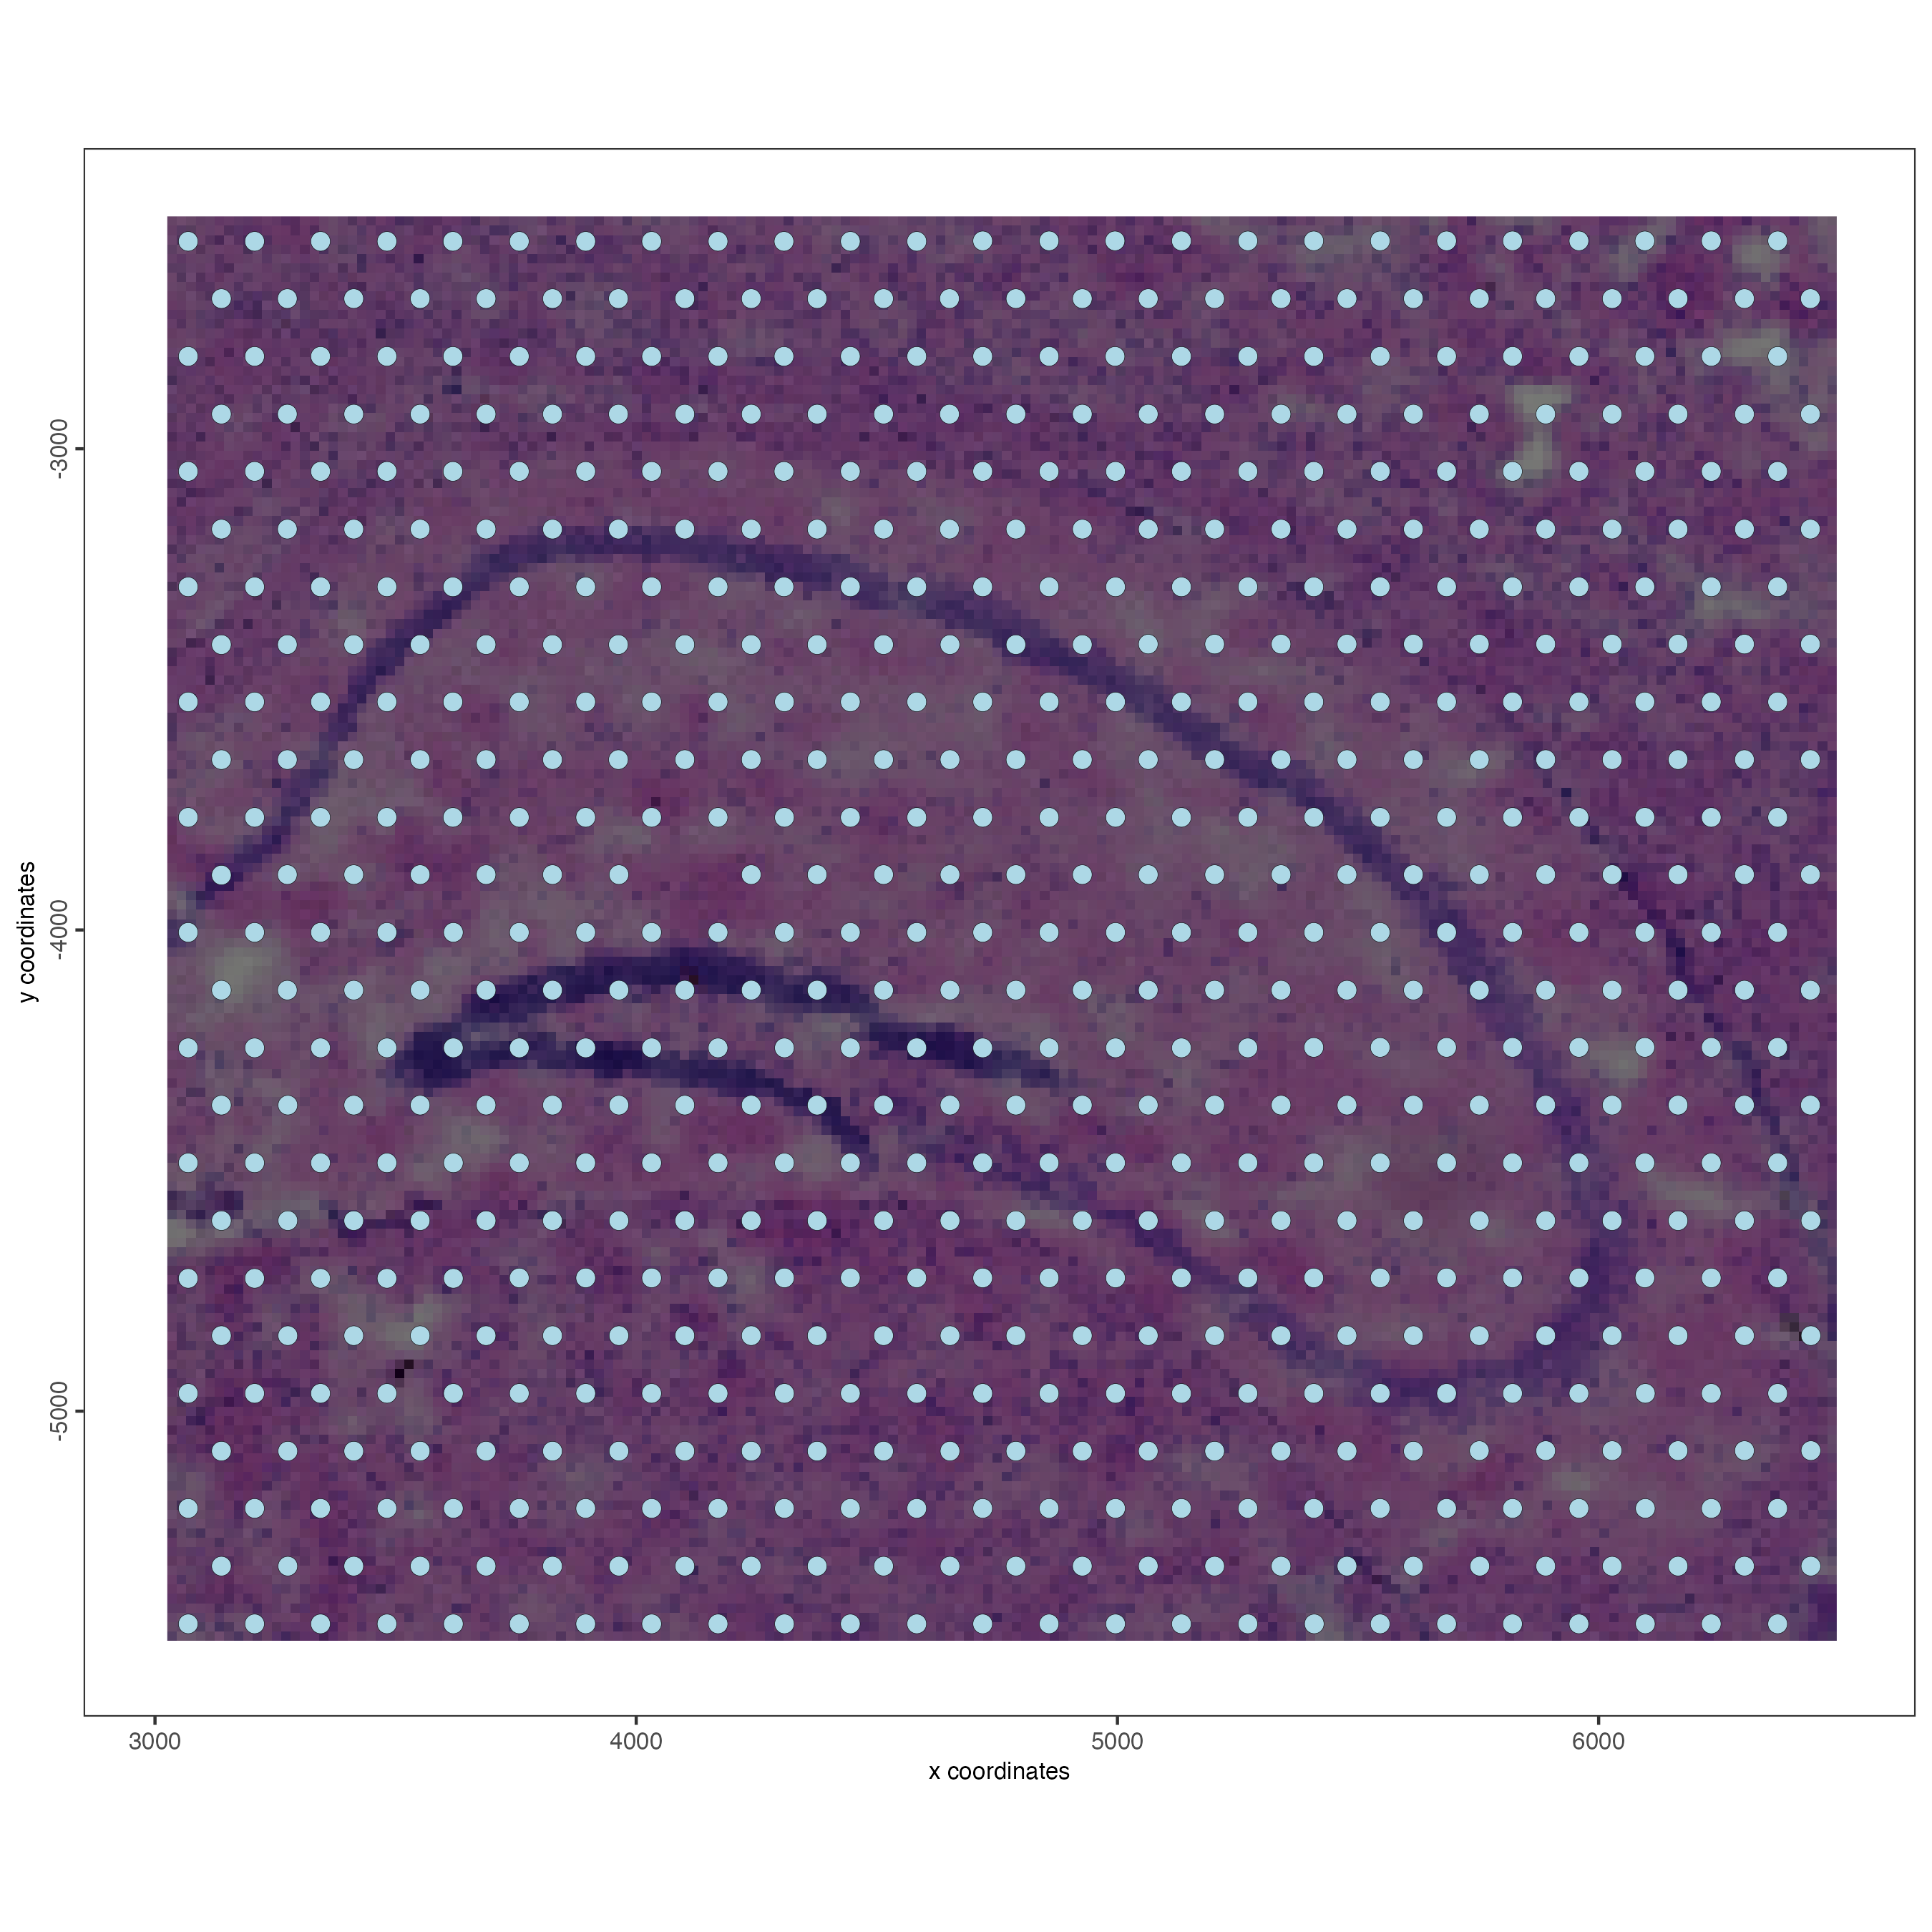
Figure 4.2: example image output